During my Mom's visit for Bella's B-day she did something insanely generous and bought us a brand new washer and dryer.
Thoughts of clean clothes and no more trips to the laundromat and the fortune we'd save on quarters filled our heads until the realization set in that we didn't really have a place to put the washer and dryer and actually have them work in our upstairs apartment.
After a couple weeks of the W&D clogging up our hallways (and dirty clothes piling up), we decided to ask our landlord permission to install a "laundry room" in our apartment. Luckilly, he said yes and we had the perfect place to put them.
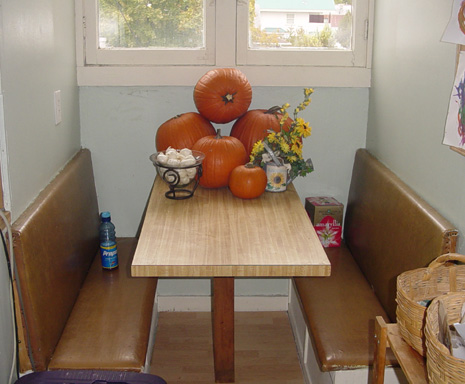
Our apartment used to house 2 separate families till our landlord got stymied by the city because the house isn't zoned to rent to that many people. It therefore came equipped with 2 "dining nooks" kinda like what you'd find in a restaurant, except that apparently the restaurant that ran in our house was for midgets because you can barely sit 1 person in them comfortably. So we thought, "Why not tear out one of the nooks and stick our W&D there instead?!" This flippant thought turned out to be a lot more work than we expected.
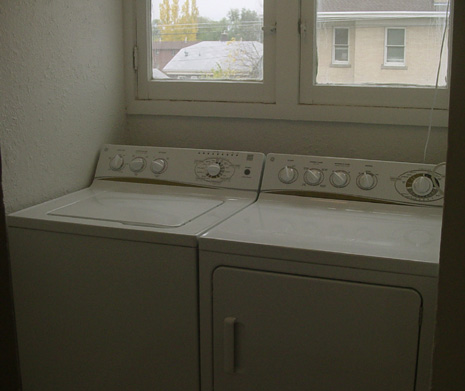
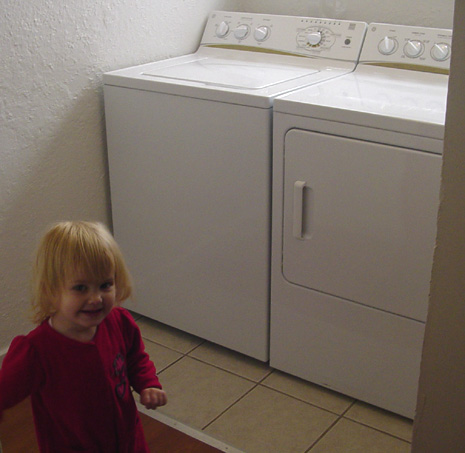
Here's a "Before picture." (It's actually a pic we took of the remaining nook after we'd finished, but they were identical so you get the gist):
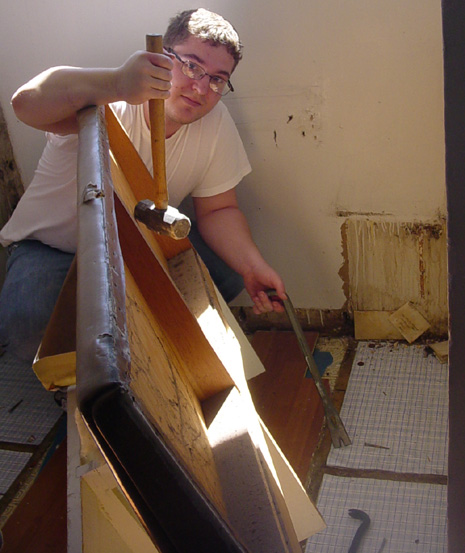
Step 1: Demolition
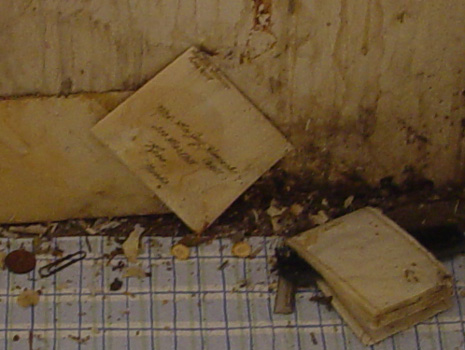
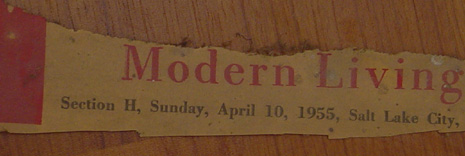
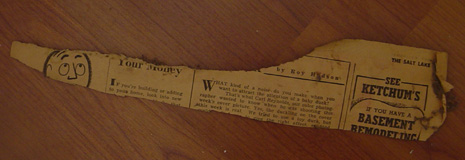
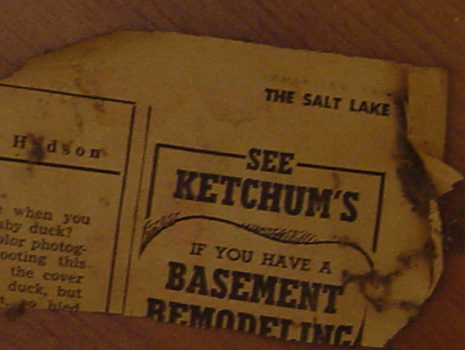
We had to tear out the table and benches to make room for the W/D. Interestingly, we found some old envelopes under the bench and some newspaper shreds from 1955! (Back to the Future fans should recognize that year) Yes, I guess our house really is THAT old.
After tearing out the old stuff we were presented with a dilemma: What to do with the faux wood that our chintzy landlord put in to make the place look "classy?"
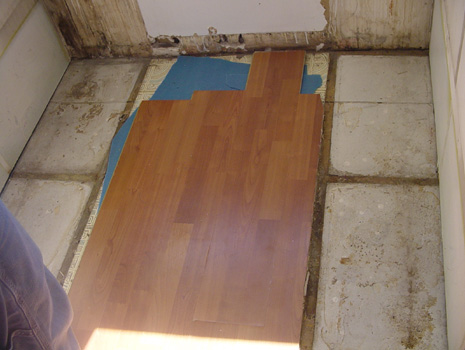
That was an easy decision..."Hey Circle, let's put in TILE!"
What does over 50 years of Provo landlords "renovating" this apartment get you? 3 layers of linoleum UNDER the faux wood.
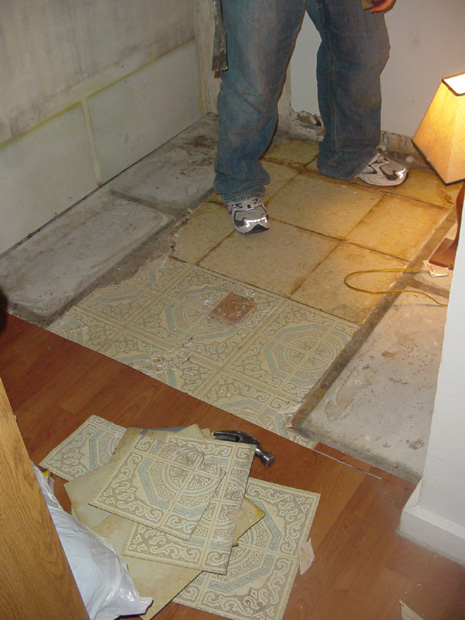
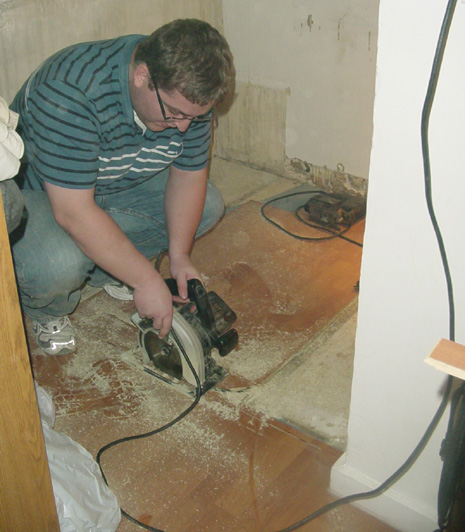
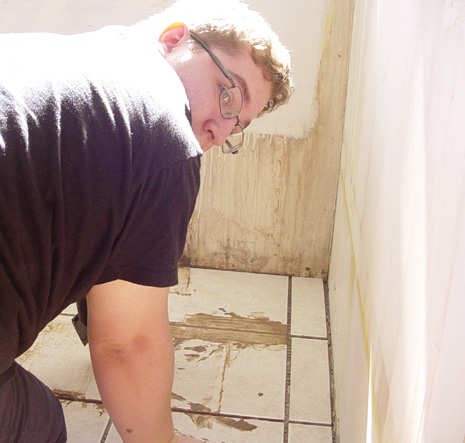
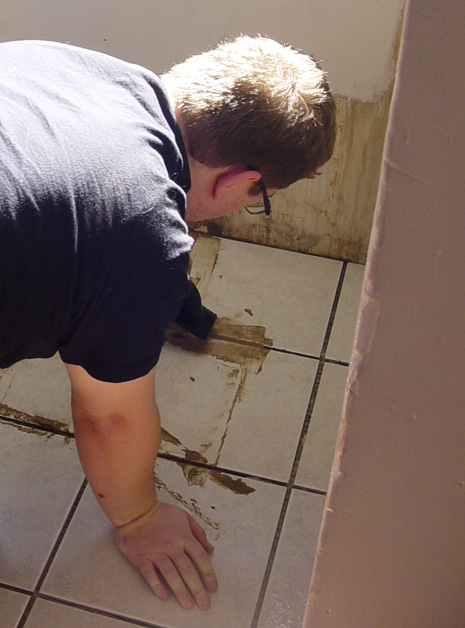
Time to call in Ethan...hey that stuff is hard to get off...you don't expect me to break a sweat do you? Ethan took that tile up like he was born for hard labor.
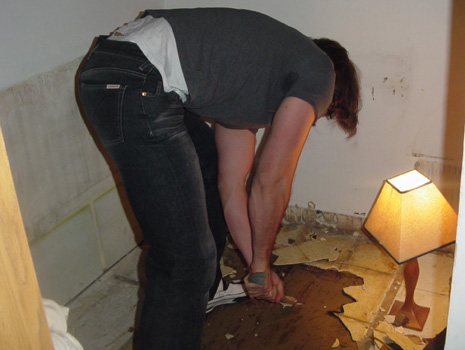
Time to call in the clean-up crew!
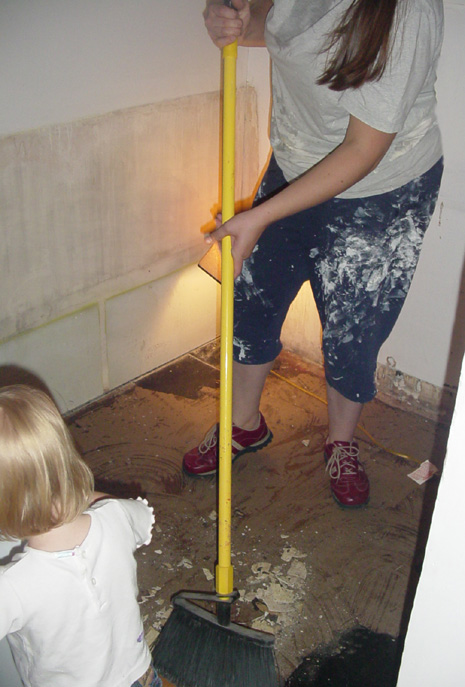
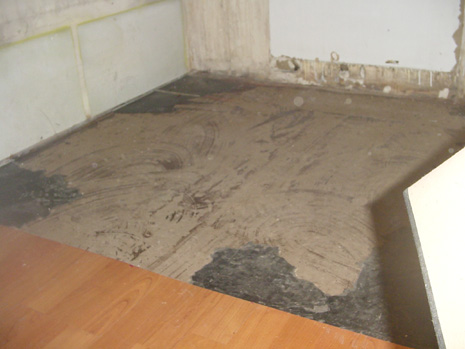
And finally, we're down to the original floorboards.
Step 2: Laying Tile
This part was actually pretty fun. I learned a bit about laying tile from helping my friend Kelly Ditto with his new house in Pennsylvania, so with that as a base and Home Depot as a consultant we bought our tile, backerboard, the backerboard cement, grout, and the tools we needed to do everything.
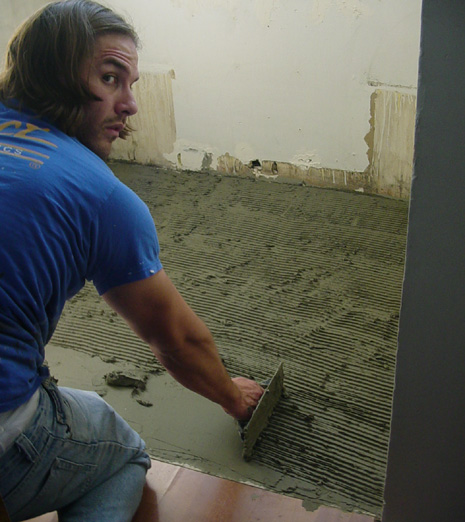
Here's me doing some backerboard cement:
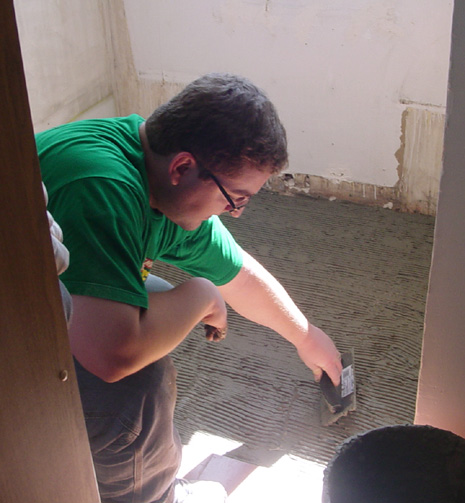
When I got tired after about 2 minutes I called in Ethan to finish the rest:
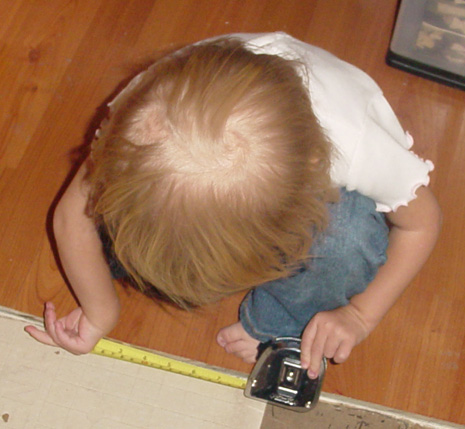
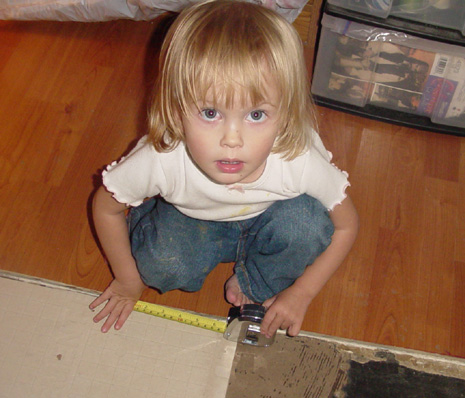
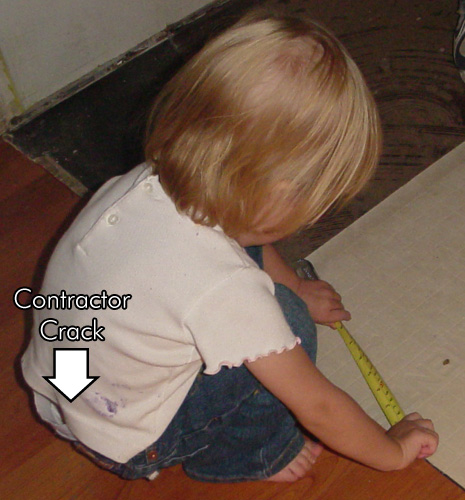
When it came time to lay the backerboard, luckilly we had some help with the measuring:
Then we put down another layer of the backerboard cement and the tile with special made tile spacers. Because it was such a small space, Home Depot cut all our tile for free! Once it had set up/dried I put in a nice brown color of grout we had picked out at Home Depot:
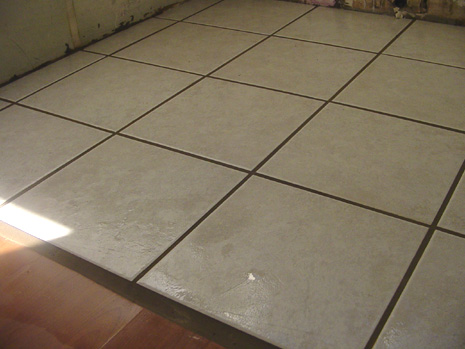
I really enjoyed this part because I seemed to have a knack for getting the grout in and smoothing it out evenly. Here's proof:

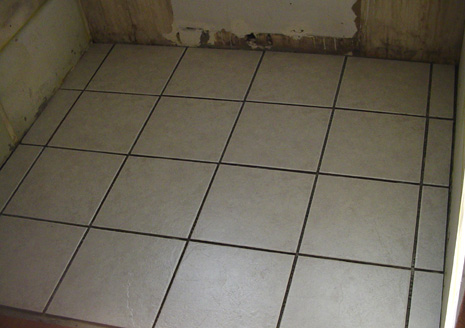
Here are some pics of the finished tile once we washed it off:
Step 3: Plumbing and Electrical
Up until this point things had gone surprisingly well, so we weren't too scared of finishing things off. Unfortunately, things went a bit sour and our patience was tested. That being the case, we didn't take too many pics during this period, but here's a summary:
There was an existing hot water and cold water line behind the laundry room wall in the attic that was fairly easy to find some hoses to hook into and pipe into a washer box we bought to sit in the wall. There was also an existing drainage line that we just had to cut and pipe up through the washer box also. Unfortunatley, as we discovered when we hooked the washer up to everything, the drainage line was too narrow (1" diameter) to effectively drain the washer, so we got water backing up and coming out of the line onto our new tile...our only comfort at this time was season 2 of LOST on DVD where the methodical input of "The number" soothed our troubled hearts.
After talking with some guys at work, they suggested that the line probably needed an air vent to keep the water flowing (similar to how a gas can has a vent on the back to help the gas pour out without "glugging" air). So, we went to home depot and bought the stuff to put a vent in the line...unfortunatley, while I was sawing the 50 year old pipe in our attic it splintered into a thousand pieces. That was discouraging.
After talking some more with the guys at work, they said I might as well replace the whole drainage line with a wider diameter pipe since I already had to replace the segment I destroyed.
So, another trip to our friends at Home Depot and a purchase of 1.5" diameter ABS pipe had our hopes high.
The only obstacle was a small screw-in plug that transitioned the old 1 inch pipe into the OOOOOOld metal main drain of our house which needed to be removed. I borrowed a hefty pipe wrench and laid some serious elbow grease into the screw in plug...unfortunately I applied a little too much elbow grease and an old rusty metal pipe broke and the entire old metal plumbing assembly fell out of the wall and into my arms....that was frustrating (it's "lefty-tighty, righty-loosey right?).
So in a mad rush, we hurried to Home Depot, the saviour of the hour, 10 minutes before closing with the metal assembly in tow. We laid it on the floor and the sales guys ran around gathering turns and pipes to duplicate it in ABS plastic piping. We had to use the self-checkout, but we had all our supplies when we left home depot to basically rebuild the plumbing on the south side of our house.
By then I was an expert at measuring, cutting, and bonding plumbing pipe together and replacing everything didn't take very long at all.
Here are some pics of the finished product:
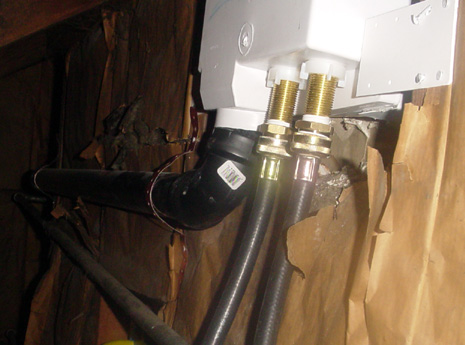
The back of the washer box mounted to some studs behind the laundry room wall with our new piping running out of it toward the main drainage and the hot and cold lines running in to it:
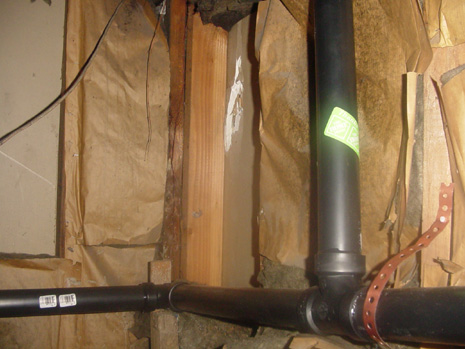
A pic of the venting pipe we spliced into the main drainage line:
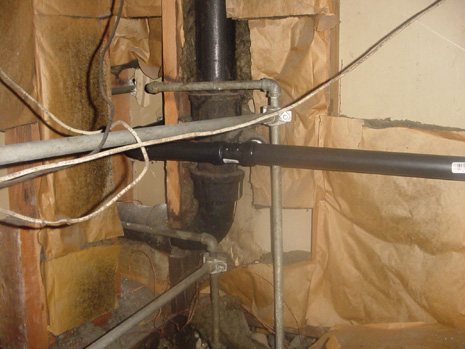
And here's the bugger that used to be metal that broke and we had to replace. You can see that it drains into the main house drainage and also runs through the wall into the P-trap for the sink on the opposite side.
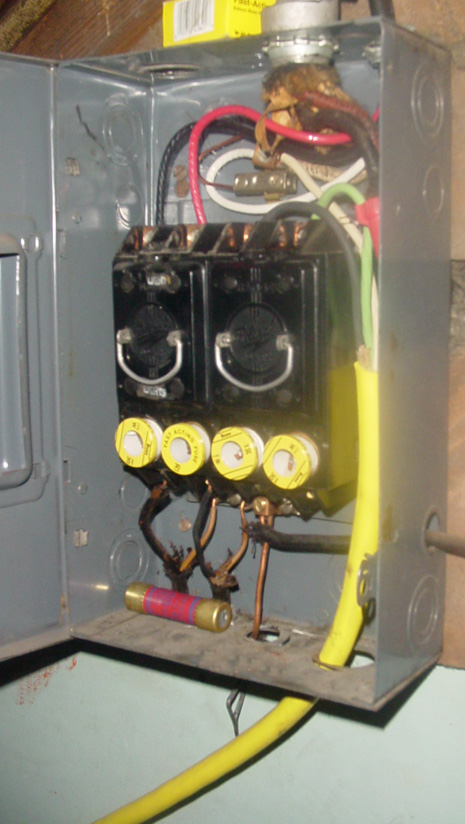
We also had to cut a hole in the drywall and install a 220 Volt outlet to run the dryer. I bought some heavy duty wire at Home Depot and hooked it up to the outlet we installed and then ran it over near the fusebox in our attic. We had an electrician in our Ward actually connect the wire into the fusebox cuz I was too scared...wouldn't you be...look at this ancient thing (the yellow cable is the new one):
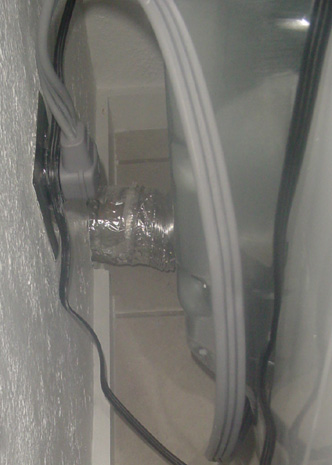
We also cut a hole in the wall for the dryer vent, and Ethan cut a hole in our awning and installed a special cover to keep the birds out.
Here's a pic of the dryer plugged in and the vent going through the wall:
Here's what the finished washer box looks like on the working side of the wall (it has a handy emergency shutoff valve):

Step 4: Cleanup, Baseboards, Texturing and Painting
This step was all handled by Circle. She's perfected her texturing and painting technique. She bought the baseboards, cut them to length, caulked and painted...yes folks, she's really that amazing.
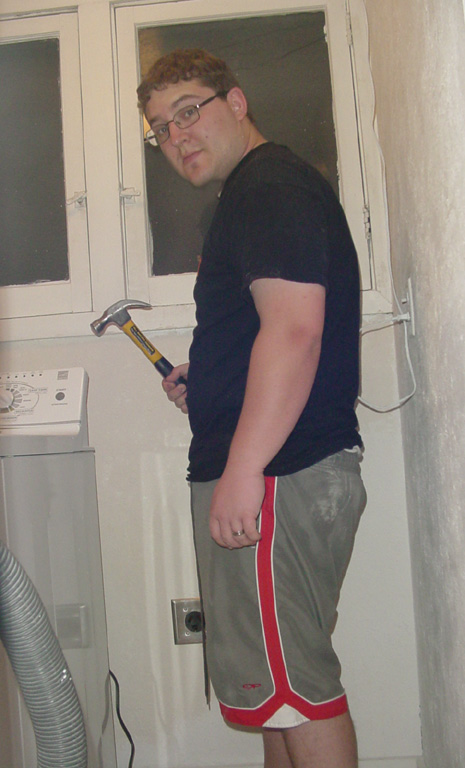
The only thing I helped with was finding the studs to nail the baseboards into...using my patented "knocking" technique.
Finding Studs...it takes one to know one:
GRAND FINALE:
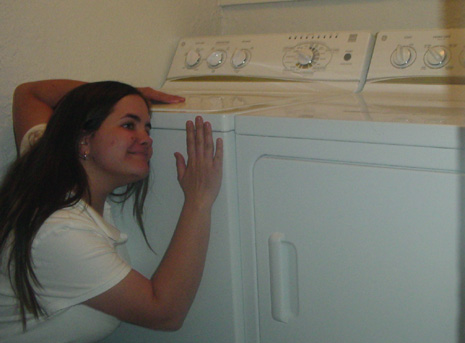
And here are some shots of the final product:
And, of course, the reason for this whole ordeal...
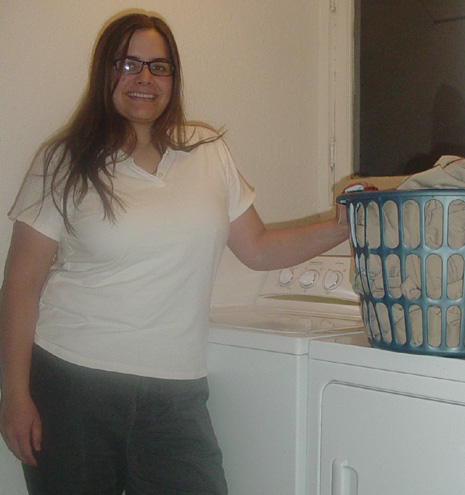
A happy wife:
(It was either this or have another kid....kidding...only kidding....)


No comments:
Post a Comment